Plumbing isn’t the kind of thing you think about until it fails. Then suddenly, every drip, clog, or burst pipe becomes a household emergency. For many homeowners, plumbing feels like a maze of confusing parts and hidden lines. But understanding how it works doesn’t require a contractor’s license. You need a solid explanation that is free of fluff and straight to the point.
Understanding the Basics of Plumbing Installation
Plumbing installation is more than connecting pipes and faucets. It forms the infrastructure that keeps water flowing in and out of your home. Done right, it supports comfort, hygiene, and daily convenience. Getting familiar with the system helps you make informed decisions.
What Plumbing Installation Involves
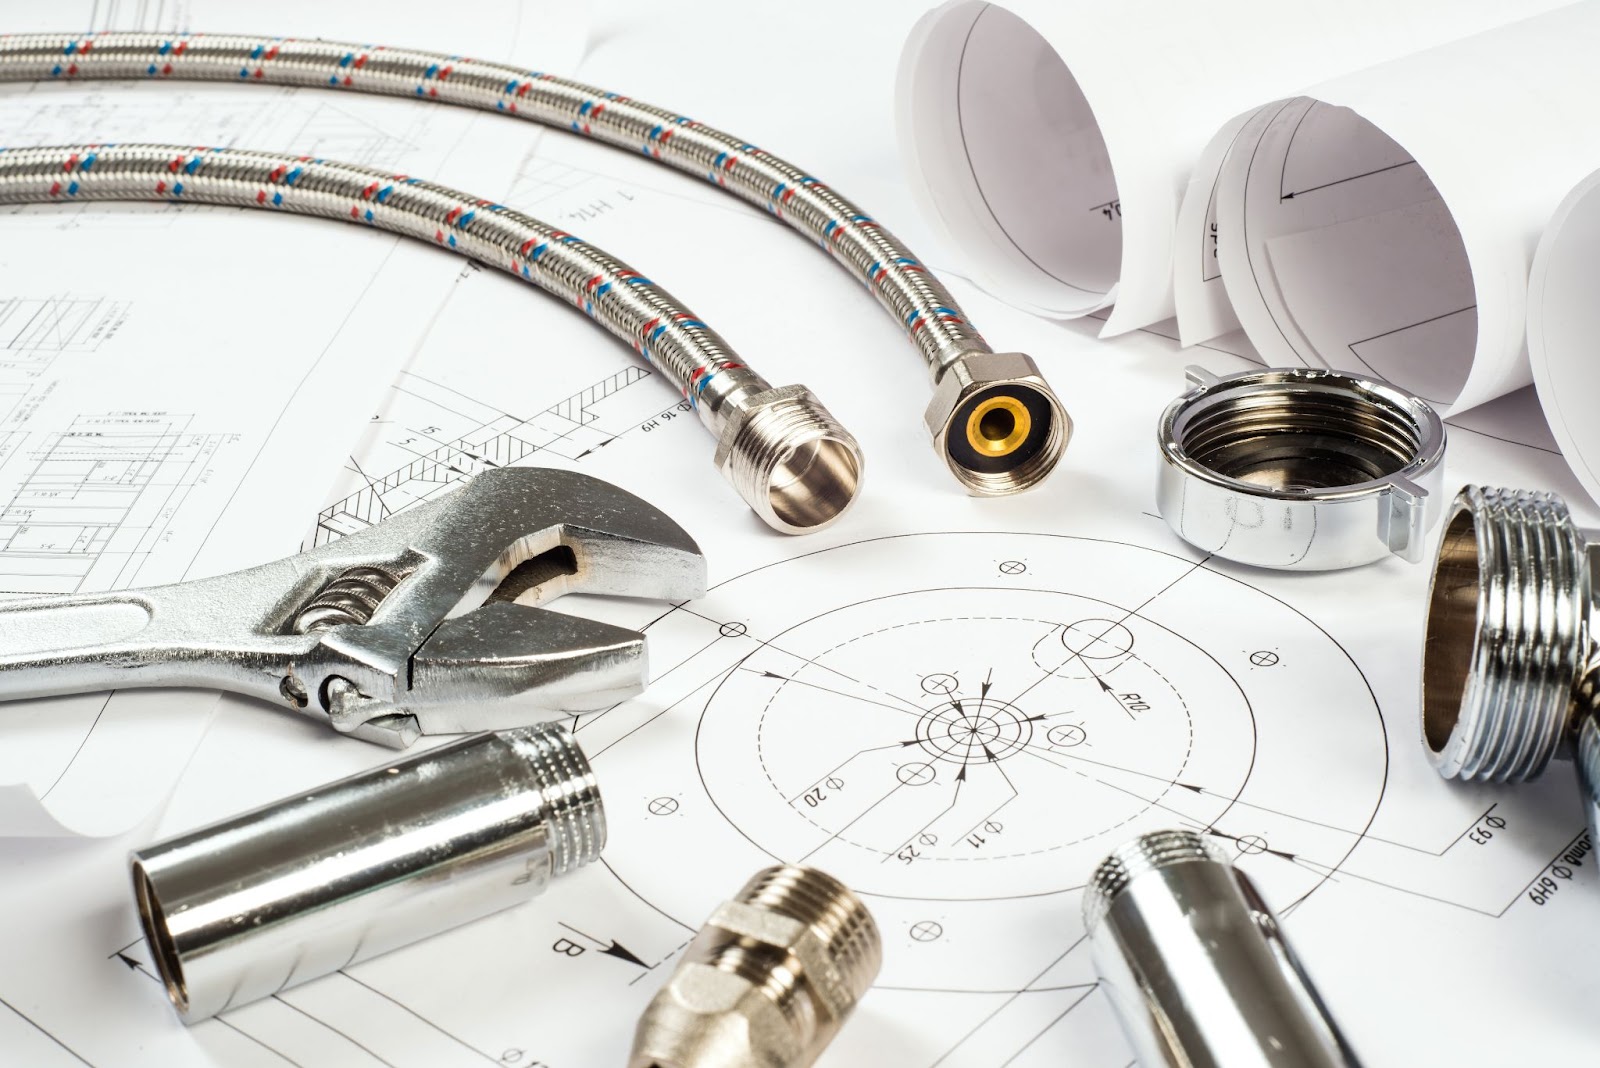
At its core, a plumbing installation includes supply and drainage systems. The supply side carries clean water to sinks, showers, and appliances. It often involves cold and hot water lines, connected to a water heater. The drainage system handles wastewater and connects to sewer or septic systems. Vents balance air pressure to prevent backups and allow smooth water flow.
Common Terms Every Homeowner Should Know
A few basic terms can go a long way. Pipes are the channels that transport water, while fittings connect those pipes. Traps, typically found under sinks, block sewer gases from entering the home. Shut-off valves control water flow during emergencies or repairs. The “rough-in” stage installs hidden pipework, while the “finish” stage adds fixtures like toilets and faucets.
Planning Your Home’s Plumbing Installation
Plan every detail before laying the first pipe; it sets everything in motion. Plumbing affects every part of a home’s layout, from the kitchen and bathroom to laundry and irrigation. Getting it right from the beginning prevents frustration later. Thoughtful planning also reduces long-term repair costs.
Designing an Efficient Plumbing Layout
An efficient plumbing layout groups wet areas close together. Placing bathrooms near kitchens or laundry rooms saves pipe length and labor costs. This setup also reduces water pressure issues. Planning should include access panels for future maintenance. Think about how family needs may evolve.
Choosing the Right Pipes and Materials
Materials matter more than most homeowners realize. Copper is durable and heat-tolerant, but it comes at a higher price. PEX is flexible and easy to install, making it ideal for retrofits. PVC is commonly used for drainage, but isn’t suited for hot water. Consider both longevity and how each option fits your budget.
Factoring in Water Pressure and Flow Rate
Inconsistent pressure can damage appliances and lead to leaks. During planning, plumbers calculate flow rate based on pipe diameter and layout. They also measure pressure to ensure it meets local standards. Oversized pipes can drop pressure, while undersized ones strain the system. Balanced flow is essential for comfort and function.
Key Components of Plumbing Installation
A complete plumbing setup isn’t just about pipes. It includes valves, vents, drains, and fixtures that work together. Understanding how they connect helps with troubleshooting and gives you more control over upgrades and maintenance.
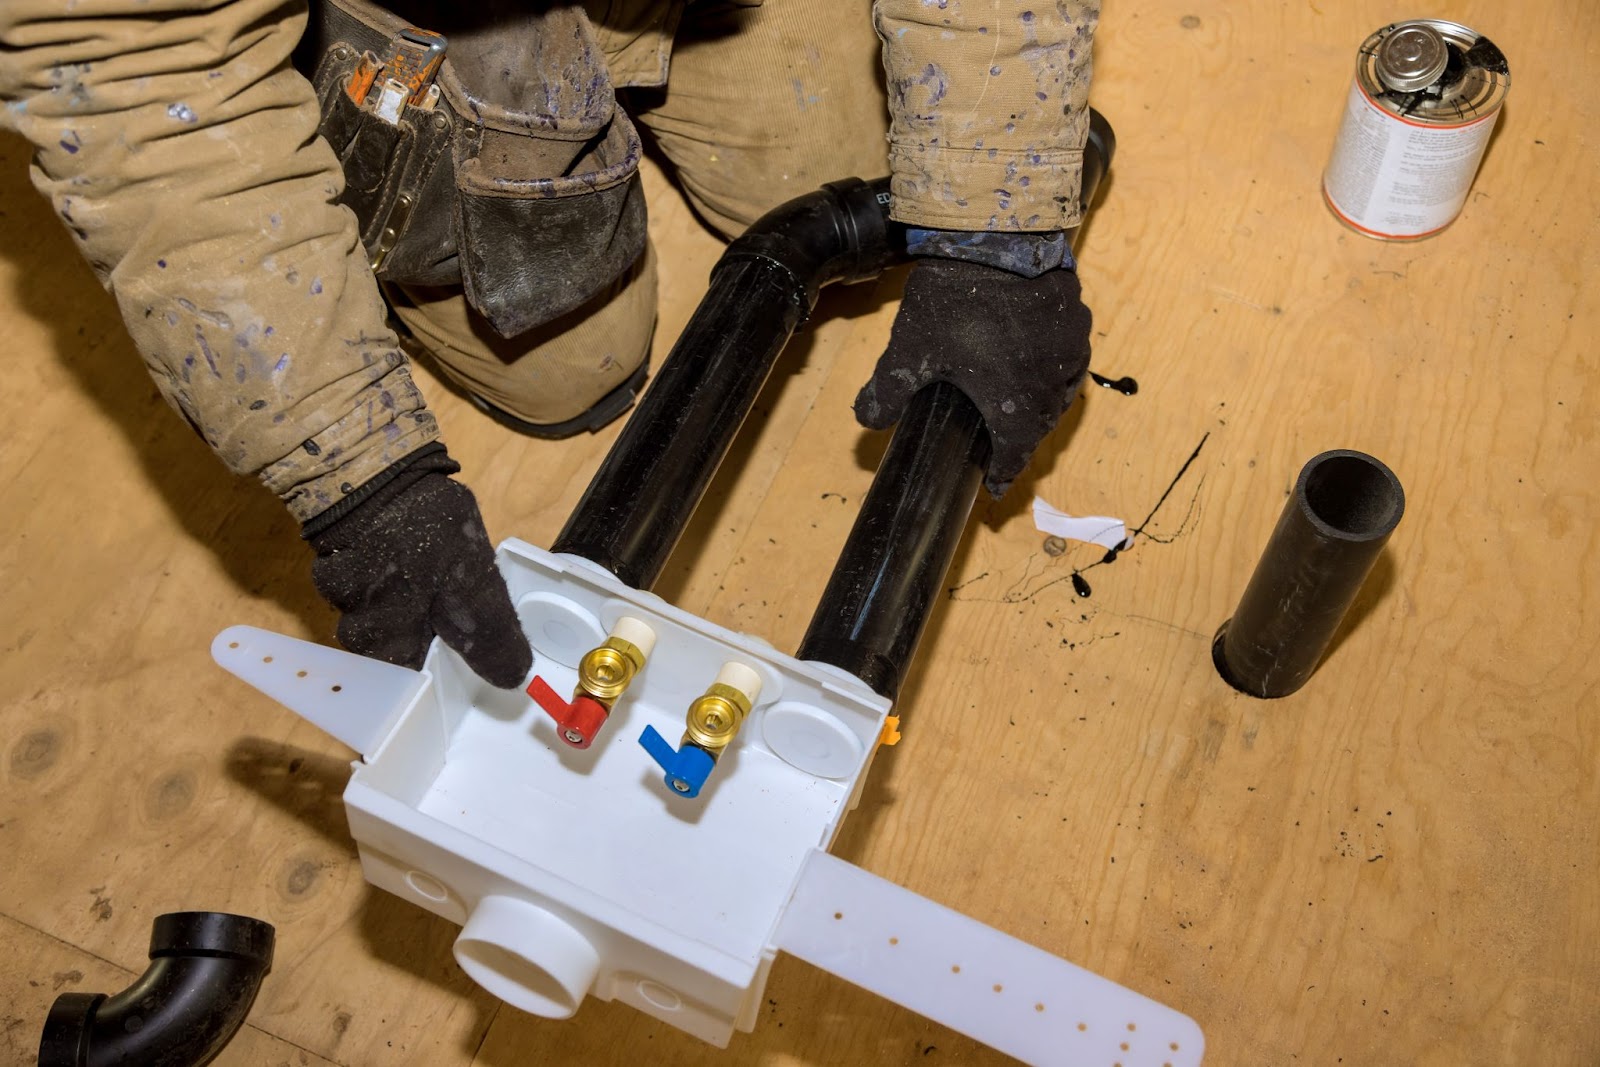
Installing Water Supply Lines
Supply lines start at the main water inlet and branch out to each fixture. Plumbers run cold and hot lines separately to keep temperatures consistent. They often install a pressure regulator near the main to control surges. Shut-off valves go in accessible spots near sinks, toilets, and appliances for easy isolation. Each line needs secure support and insulation to prevent vibration, heat loss, or freezing.
Setting Up Drainage and Vent Systems
Wastewater moves by gravity, so the pipe slope is critical. A typical drain needs a 1/4 inch drop per foot to flow correctly. Vent stacks let air into the system, preventing suction that disrupts drainage. Every fixture requires a trap to block sewer gas. Together, these elements keep your system safe and sanitary.
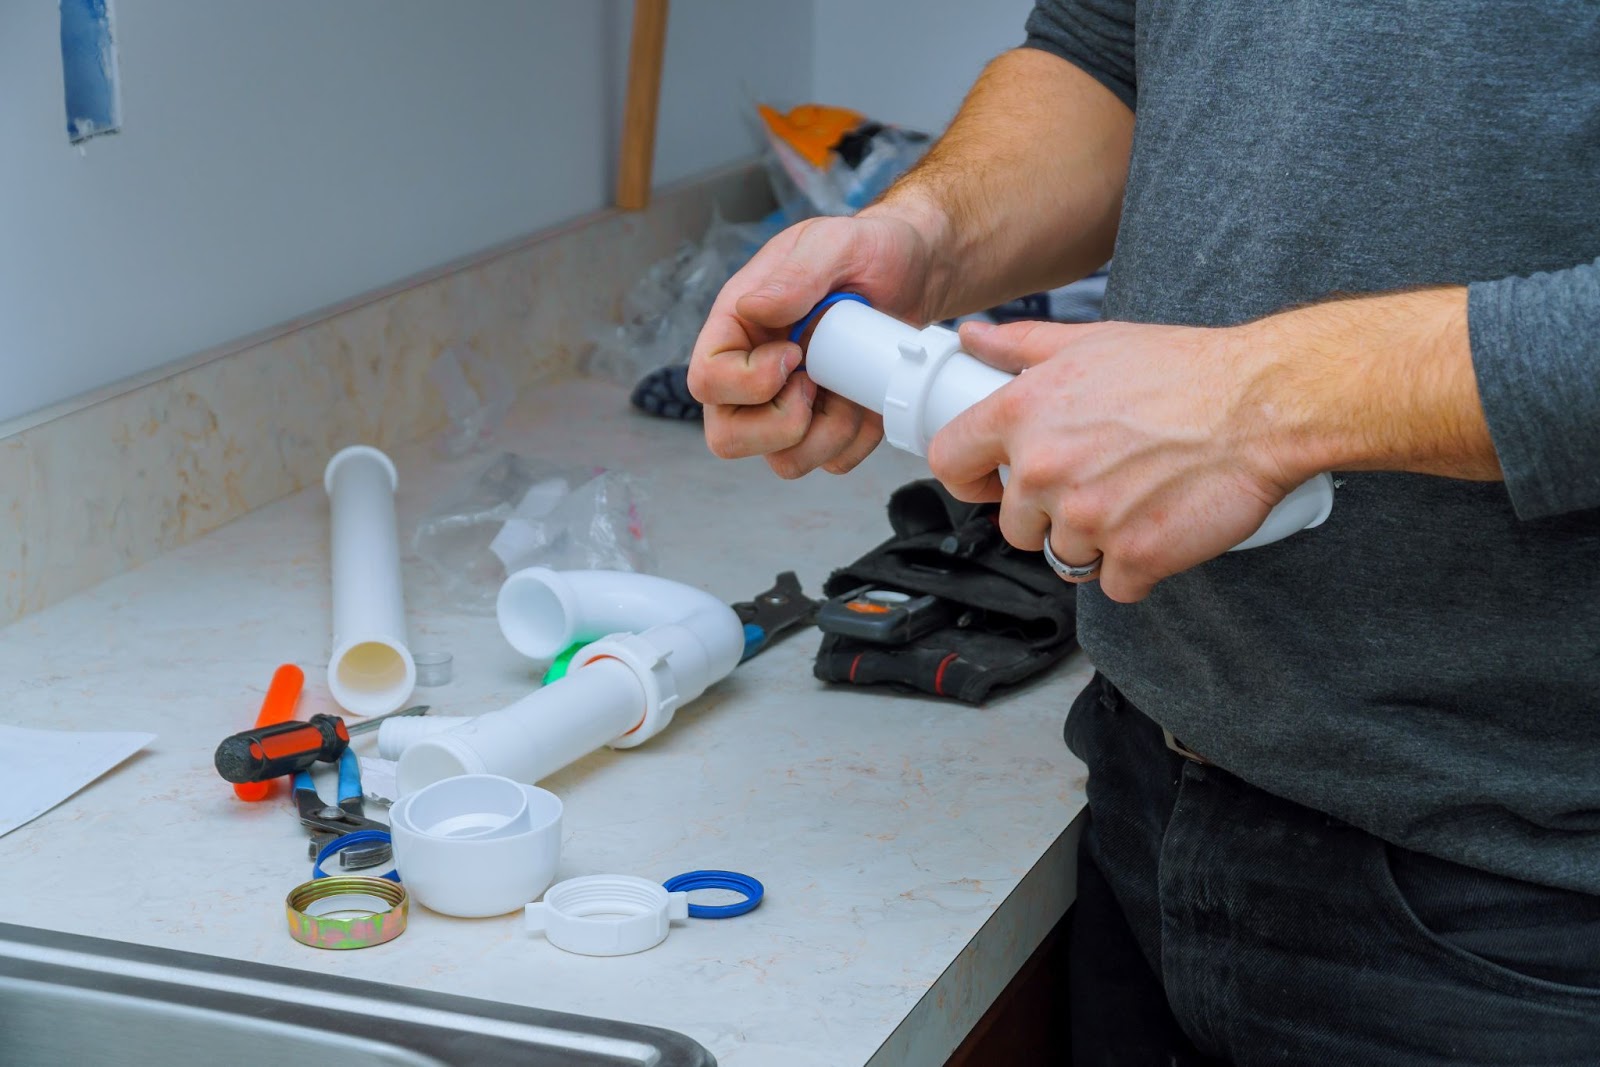
Installing Plumbing Fixtures and Appliances
Fixtures are installed during the finishing stage. Toilets, sinks, showers, dishwashers, and water heaters must be leveled and sealed. Connections should be checked for leaks and proper flow. Many require manufacturer-specific installation methods. Even a small mistake at this stage can lead to expensive damage later.
Plumbing Installation Tips During Construction
The building phase is your best shot to get plumbing right. Once walls close, changes become costly and invasive. Coordinating between trades and scheduling inspections is just as important. Solid prep avoids delays and future failures.
Rough-In vs. Final Installation
The rough-in stage happens before walls are sealed. It includes routing pipes, installing vent lines, and preparing drainage slopes. Before work continues, local inspectors check that everything meets code. After approval, the final installation connects fixtures and appliances. Water flow and drainage are tested to confirm system integrity.
Working With Licensed Professionals
Hiring a licensed plumber means better quality and legal protection. A licensed pro understands building codes, pressure requirements, and material compatibility. They’re also responsible for obtaining permits and scheduling inspections. Unlicensed work may fail inspections and lead to denied insurance claims. Always ask for credentials before hiring.
Timing Inspections for Maximum Efficiency
Your municipality must inspect each stage of plumbing. Inspectors evaluate the rough-ins before walls go up, and check final installations once fixtures are in place. Missed inspections can delay the project and incur fines. Timely coordination keeps construction on schedule.
Avoiding Common Mistakes in Plumbing Installation
Even minor errors in plumbing installation can create big headaches. Some issues take years to appear but cost thousands to fix. Avoiding these mistakes protects your home and wallet. Awareness is the first line of defense.
Always Start With a Detailed Blueprint
Skipping the planning phase creates unnecessary errors and delays. Misaligned pipes, wasted materials, and conflicts with HVAC or electrical lines often follow. A well-drawn blueprint gives every contractor a clear roadmap and reduces costly surprises. It also simplifies future repairs or renovations. Keep both printed and digital versions on file for easy reference.
Follow Local Plumbing Codes to the Letter
Ignoring plumbing codes may seem like a shortcut, but it leads to inspection failures and legal issues. These codes vary widely by city or region; many online sources are outdated. A licensed plumber stays current with all requirements and handles permit compliance. Build with local rules in mind to avoid delays and rework. It’s the only way to guarantee a safe, approved system.
Choose Pipe Materials That Match the Job
Using the wrong pipe in the wrong place leads to leaks, rust, or sudden failures. For instance, mixing copper and galvanized steel without the proper fitting accelerates corrosion. Indoor pipes shouldn’t be used outside or in high-pressure zones. Always check ratings for temperature, pressure, and material compatibility. The right materials now prevent expensive repairs later.
Set Proper Drain Pipe Slope from the Start
Drainage depends on gravity, and slope missteps cause clogs or slow flow. Too flat, and water lingers. Too steep, and waste solids don’t clear the line. Stick to the 1/4 inch per foot rule for consistent performance. Use a level during installation to confirm accuracy. Minor adjustments here save you major drainage issues later.
Maintenance After Plumbing Installation
Once installed, plumbing doesn’t run on autopilot. Regular checks prevent sudden breakdowns, and a few simple habits keep everything flowing as it should. Maintenance doesn’t require special tools or training.
Check for Leaks and Water Pressure
Every few months, inspect under sinks and behind appliances. Look for damp spots, stains, or mold. Test water pressure using a gauge at an outdoor spigot. Normal household pressure ranges from 40 to 60 psi. Unusual drops may signal hidden leaks or pipe blockages.
Protect Your Plumbing in Every Season
Winter freezes can rupture pipes, even in warmer regions. Insulate exposed pipes and keep a trickle running on cold nights. In summer, high use can strain your system. Flush the water heater once a year to remove sediment. Seasonal checklists help catch problems before they grow.
Know When to Call a Plumber
DIY repairs are okay for minor issues like faucet drips. But frequent clogs, sewage smells, or discolored water demand professional help. Don’t wait for a leak to cause structural damage. Most plumbers offer free inspections. Early attention avoids larger, costlier repairs.
Innovations in Modern Plumbing Installation
Modern plumbing is evolving fast, blending function with technology. Today’s systems prioritize control, efficiency, and long-term savings. Homeowners now have more innovative options that add value and peace of mind. These upgrades are practical and increasingly accessible.
Smart Plumbing Systems and Leak Detectors
Smart plumbing systems give homeowners real-time oversight of their water usage. Many detect leaks, monitor pressure, and automatically shut off the main valve. App-connected devices alert users to issues before damage spreads. Leak sensors can be placed under sinks, behind washers, or near heaters. They help catch problems early, reduce repair costs, and often qualify for lower insurance rates.
Water-Saving Fixtures and Sustainable Design
Water-saving fixtures like low-flow toilets and efficient showerheads reduce consumption without affecting performance. Sensor faucets and aerators also limit waste while enhancing hygiene. Greywater systems reuse sink or laundry water for outdoor use, while rainwater collection setups ease demand on the main supply. These sustainable designs cut utility bills and align with eco-conscious building standards.
Plumbing Installation Costs and Budgeting Tips
Planning for plumbing costs doesn’t need to be overwhelming. Understanding what drives pricing helps avoid surprises and keeps the project on track. With smart decisions, it’s possible to control expenses without sacrificing quality. A thoughtful approach makes every dollar work harder.
What Impacts Plumbing Installation Costs
Total plumbing costs vary based on home size, layout, materials, and labor rates. Custom features, like luxury fixtures or multiple bathrooms, increase the price. Tight spaces or complex pipe runs require more time and skill. Regional labor costs and permit fees also add up. Always request detailed estimates to understand what you’re paying for.
Budget-Friendly Strategies That Don’t Cut Corners
Grouping wet areas, using standard fixtures, and buying materials in bulk can reduce plumbing costs without compromising results. Stick to reliable mid-range products that balance durability with value. Avoid complex custom work unless it’s necessary for functionality. Set aside a contingency fund for unexpected issues like code updates or hidden damage. Thoughtful planning keeps costs predictable.
Build it Right With This Plumbing Installation Guide
The way your plumbing is installed affects everything from comfort to cost. Poor planning leads to leaks, damage, and later high repair bills. This guide isn’t just information—it’s a tool to help you act clearly and confidently. Use it to ask more thoughtful questions, avoid common traps, and get results that last. Every well-built home starts with plumbing that’s done right.
Want reliable advice from the pros? Explore the Prestige—Plumbing, Heating, and Cooling blog for guidance on plumbing and beyond.